Sunday 16 February 2014

12 days of Christmas in February?

For the last five years I have participated in a wonderful crafty swap where 13 like minded crafters each make 12 identical (well very similar) gifts. These are then swapped with the other participants to that everyone gets one of each other person's gifts. This is our 12 Days of Christmas swap and it is such a treat.

It is quite a challenge just to think of something different to make each time that is not too large or heavy but strong enough to stand up to two postal journeys - one to "Santa" who puts together the parcels and the other to the recipients. In the past I have made key rings, stuffed animals, calendars and buttons. these and the gifts I got in return are the subject of (much) earlier posts.

This year I made door (or wall) signs using MDF blanks that just fitted into a shoe box for posting.

 
I started by painting gesso over the whole sign and then used a chocolate brown coloured paint round the edge. The colour in the close up photos is a better representation then the one taken of the sign hanging on the wall.
 
I die cut letters from chipboard and glued these and lots of art and craft bits and pieces down with gel medium Glossy Accents.


I used all sorts of things including pencils and old paint brushes ( I have so many with gummed up bristles!). I painted over everything with gesso to disguise unwanted colour and used spray inks with pearl powders over the top to create a unified, aged, stained look.


I finished off by highlighting the letters and other details with Treasure Gold and dyed string with Walnut ink to create the hanging.

Sunday 9 February 2014

Warning - very shiny

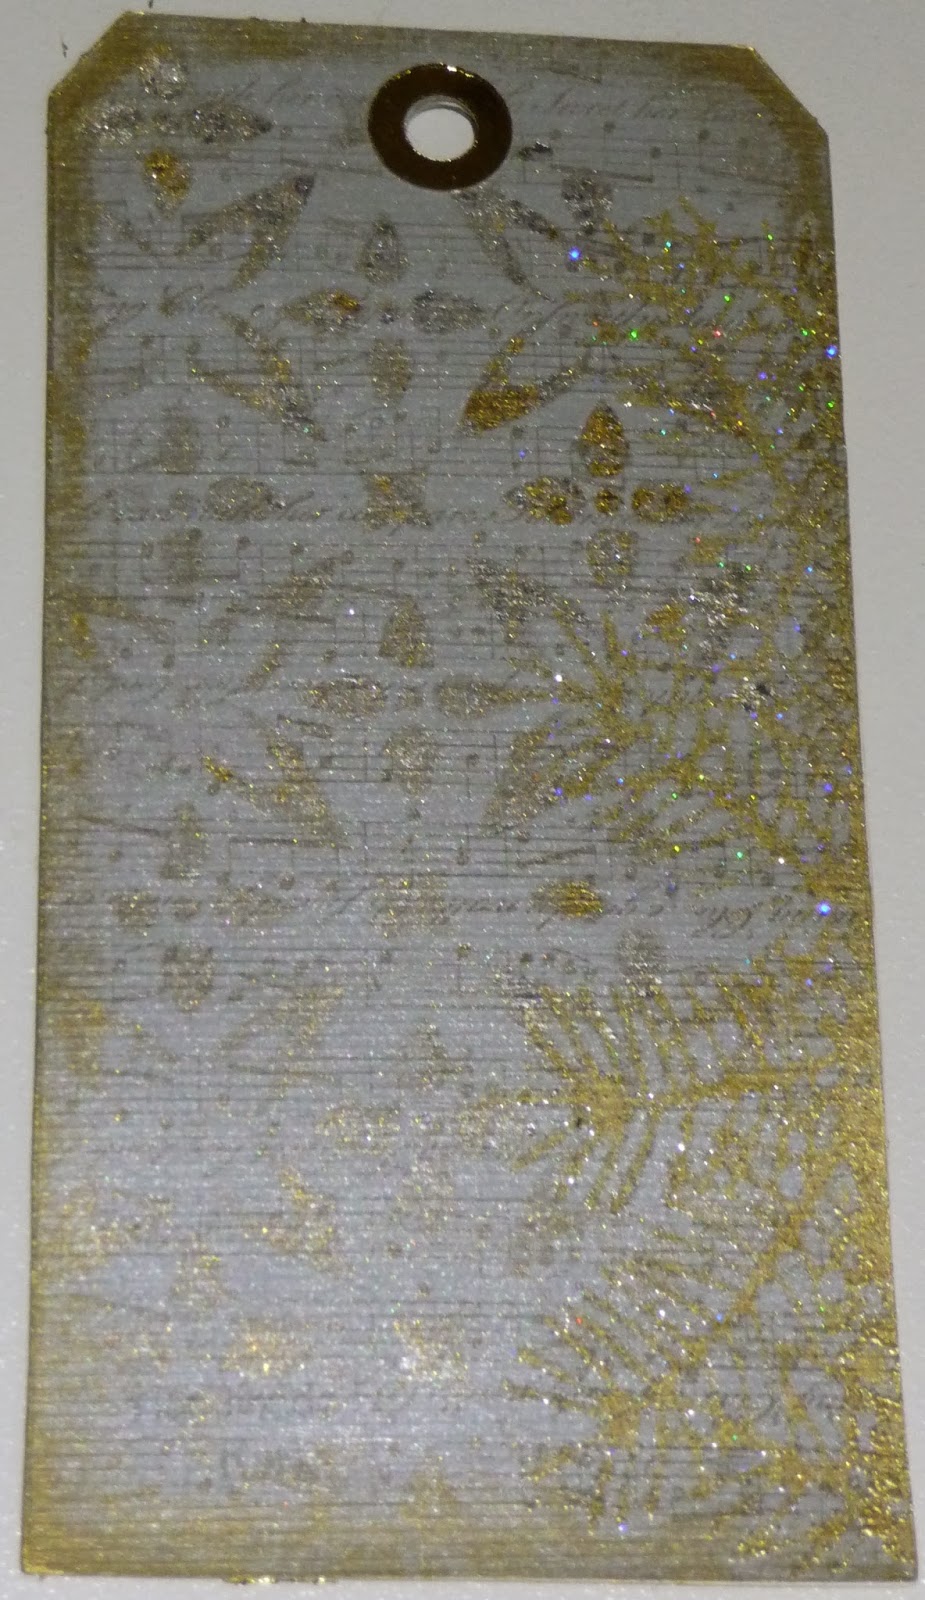
Anyone who has visited my blog before will know that photography (and electronic things) are not my forte. I struggled to take pictures of these gold and silver tags - the pictures don't show the background detail at all well.
 
This first picture is of what I thought of as the back - mainly because it is flat. I used ribbed silver pearlescent card as the base. First I stamped music with versamark and applied pearl powders. Then I stencilled with Flitter Glue and applied gilding flakes in a mixture f gold and silver. I used a die cut to stamp with versamark down the right hand side and embossed with glittery embossing powder. And finally rubbed Treasure Gold round the edges.
 
Well is you're going to do bling you have to do it properly!
 
 
The front of the tag is cut from gold Mirri board. I have stamped Christmas script (a Crafty Individuals stamp) with Brilliance Gold ink on top and heat set it to get a matte contrast. This is toped with a die cut, some spangly ribbon and some sequins for maximum sparkle. This was the December, Christmas swap after all.


So next time is 12 days of Christmas and then properly on to 2014.

Sunday 2 February 2014

That fooled you

I think I said last time "expect shiny" in this post, but as I browsed our swap group photo albums I remembered we had done a mini canvas swap.

Now normally I am a stickler for rules but with my mind full of other things at the time I didn't pay proper attention and my canvas was a smidge smaller than the size parameters we had agreed. Fortunately I confessed early and didn't have to start again. The canvas is just less than 4 inches square and it is surprising how many things can be squezzed in to such a small space. It is a bit like the game we played as children  - fitting as many different things as possible into a match box. Now there's an idea I might come back to...

I used a Crafty Individuals image in the centre and coloured the piece to match the vintage photo look.

The picture is surrounded by all sorts of pretty odds and ends all glued in place with gel medium or glossy accents. As usual I've used whatever I could reach so the ric rac from my last tags features. there are also buttons, beads, paper flowers, scraps of lace and some floral bits die cut from craft foam using a Memory Box die.


Once everything was stuck down securely I masked the image and painted gesso over everything else to tone down any existing colour. After this I applied some pink and beige paint to match the central image as best I could, and finished with a good spritz of Moonshadow mist to add vintage look walnut stain and a mica sparkle that you don't really see in the photo.